The Radmalls

The Radmalls
Showing posts with label Projects. Show all posts

Wednesday, April 27, 2016

DIY Mudroom


So I have always wanted a built in mudroom in my house and in this house there is the PERFECT
spot for it right behind the garage door.


Most of everything we used came from IKEA (the best DIY store ever).

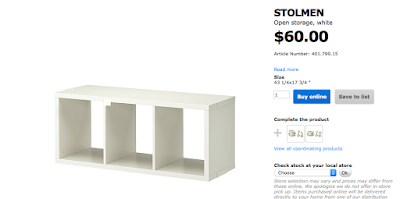
STOLMEN open storage: $60


EKBY shelf: $32


4 HEMNES hooks: $20


Furniture Legs: $15


You don't need to add the legs to the open storage bench but we have an HVAC vent underneath right where we want it so we needed to raise it.  Ty simply marked and screwed each leg on the base of the IKEA unit.


While he was doing that I started painting the wall white (with leftover paint that was left in our basement) where we were planning on installing the wood trim.


The only other materials you need to buy are white wood trim.  

17 feet of 4″ Trim – They sell this in 18 ft Length for under $15 (The lengths I used were: 2 lengths at 5 feet, 1 length at 40″ & 1 length at 3 feet for a total of just under 17′; they will cut these for you if you have your exact measurements – you will have to take into account what height you want your shelf and what you have or will be using for baseboard)
3 feet of 6″ Trim – This is the piece that the hooks go on so I decided to use a wider trim. You could use the 4″ trim if you’d like, or go even bigger.
Home Depot: Spent $35
Total Cost: $162
My husband started by using finishing nails to secure the trim but it wasn't secure enough for our liking so he used drywall screws which we will have to cover and paint (this has been finished for 2 months and I have yet to cover and finish painting the screws and trim which will honestly take 20 minutes max)


Oh and a while ago we bought this awesome leveler that has a red laser.  Best $40 we've ever spent.   This is a game changer when it comes to hanging pictures too.


In this picture you can see all the screws and nails.  I really need to get around to finishing it.

Monday, July 14, 2014

Progress...

I love making lists, but even more then making lists I love crossing things off of my lists.  I posted about our spring/summer to do list here and wanted to look at our progress.

Hallway - 75% complete


Remove Swamp Cooler from ceiling and wall
Re-drywall where the swamp cooler was removed
Paint trim and walls (the last of the yellow and green paint)
Add some art and a runner rug


Front Yard - 66% complete


DIY Paver Patio in front of window on the right
Add some landscaping (bushes/flowers/rock)
Paint the front door a fun blue


Master Bathroom - 29% complete


 Paint the hideous vomit colored walls
Replace the off centered circle mirror
Paint the cabinets and get hardware
Spray paint the light fixtures black
Repaint the grout
Paint the outdated tile in the tub and shower
Refinish the ugly tub with a $30 Tub and Tile Kit from Lowes


It has been a lot of work and very tiring so we are officially taking a break.  A much needed break.


Thursday, June 5, 2014

DIY Paver Patio

So we are so excited to FINALLY have our front patio done (well everything but the final landscaping touches).  Hopefully by the end of this month I will finally be able to put the before and after pictures of our finished front yard.

So after 2 weeks of internet searching and shopping around for the best prices we finally got started.  This project has been the longest and most difficult project yet.   

These are the things we needed for our project:


-15 bags of Paver Sand 
-Paver Set Polymeric Sand 
(this is the finishing touch that we actually haven't done yet...whoops)
-Wood framing
-Metal Stakes to hold the frame
-Pounder
-Pea gravel
-Landscape Fabric to keep the weeds out
-2 x 4 and 2 ten foot PVC pipes for leveling

So this is the area we started with


The first thing we had to do was dig down so that each of the three frames were level with the concrete.  We also had to measure out the frame EXACTLY to the pavers we had since they were going to be fitting hopefully snuggly inside the wood frame.  It took a lot of work and a lot of mess ups but this is what we ended up with:


The landscape fabric has been awesome.  We bought a huge 100 foot roll at a local nursery for $40 and have used it for everything.

Next step is to lay a 2" layer of pea gravel over the landscape fabric.


After leveling all the gravel out we placed our two PVC pipes towards the edge like this:


Then we started pouring the paver sand in excess in between the PVC pipes.  I just tried to level it the best I could just by looking at it before we really leveled it.


The leveling part was actually pretty easy.  You just need the small 2x4 and you run it on the top of the PVC pipes.


Then you take out the first PVC pipe and use a small shovel to add sand to the line that it left in the sand.  As you can see it isn't perfect but it worked.


Then you start laying your pavers in whatever pattern you want.


Then you move the PVC pipes and repeat the process until you have the whole thing filled in.  


The LAST paver...


It took us about 4 hours just to do the paver sand and laying the bricks.  Total time to do the digging, framing, and everything else was probably 10 hours.  We spread it out over about 2 weeks though so it wasn't too bad.

The one thing we still have to do is sweep the polymeric sand into the cracks and lightly mist it so that the pavers set and hold really nicely.  It was so late that we decided to wait on that.  Unfortunately it has been 2 weeks since we finished it and that step still isn't done.

Here is the finished product in the daylight...


Hopefully by the end of this month we will have all the landscaping done around the patio.  I'm crossing my fingers.

Saturday, May 3, 2014

DIY Firepit

Last fall Tyler's dad's landscaping company came up and turned our jungle of a front yard from this..


to this..


We have done a lot already this spring and right now we are working on a front patio to the right of our walkway.

My favorite part of what they did in our yard is this retaining wall.


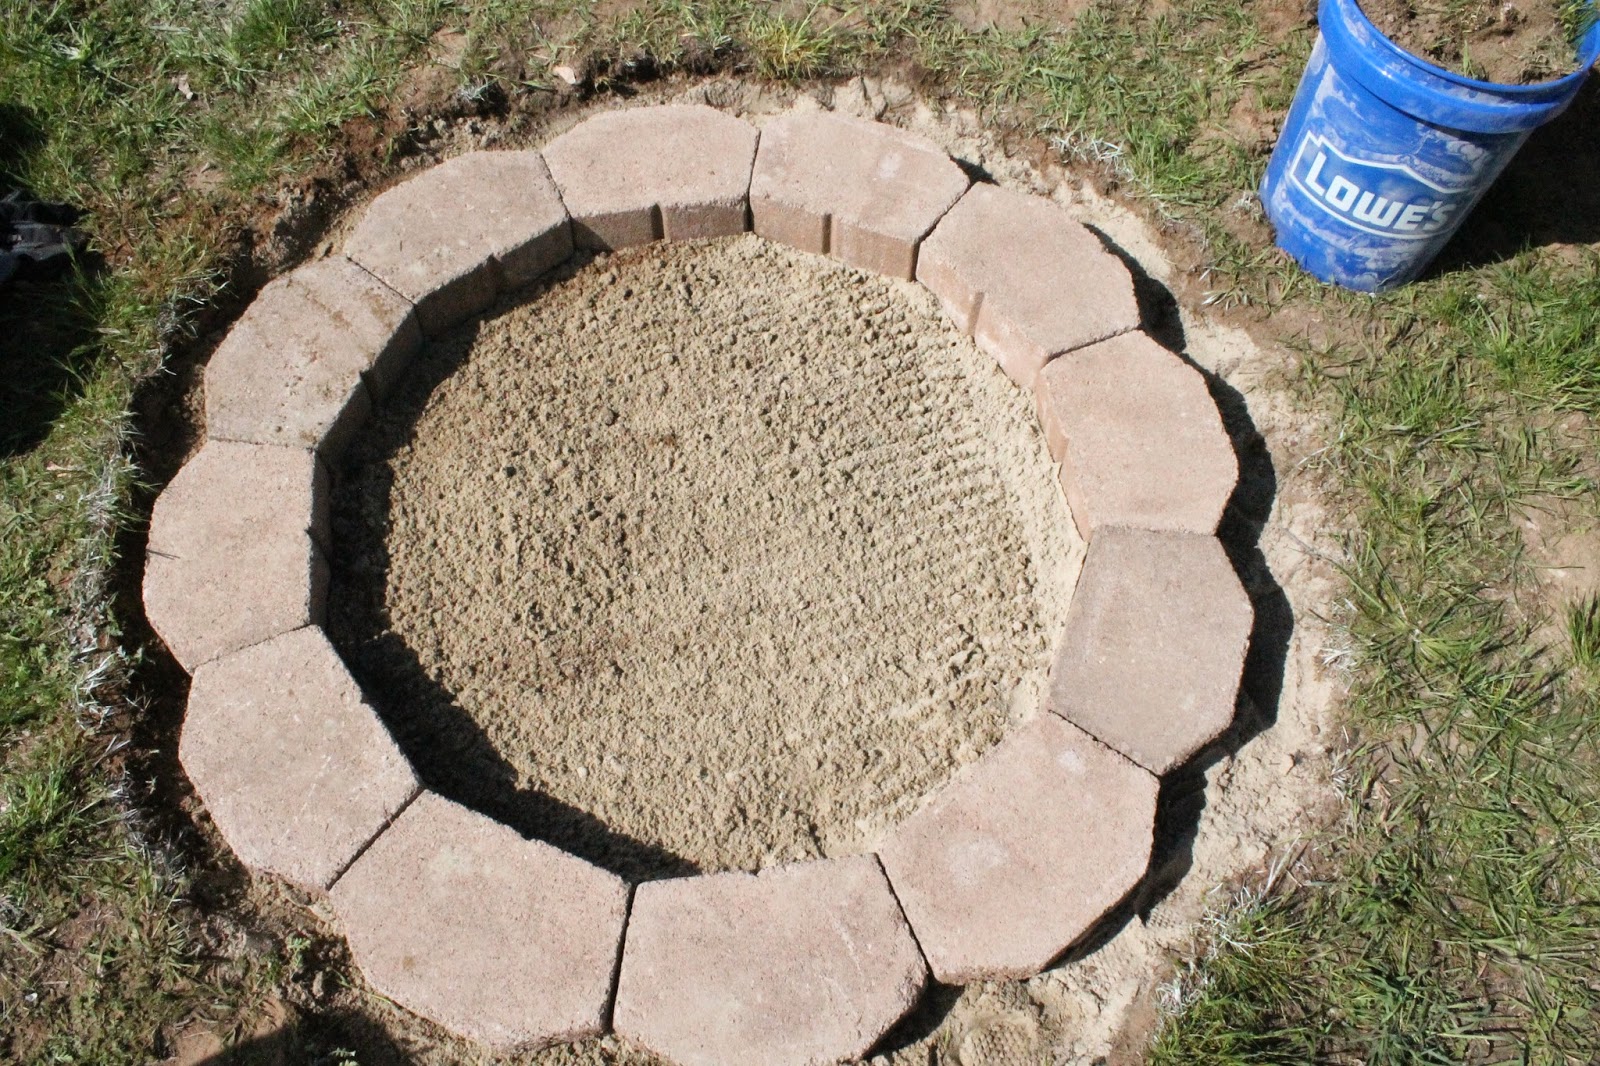
We had a ton of these bricks left over just sitting in our back yard.  So we decided to use them to make ourselves a little fire pit.  Ty and I always have our pantry stoked with smore's stuff because we make them on a regular basis using our gas stove.  So we knew we would get our use out of this fire pit.


So the hardest part was that bricks used for retaining walls generally have a lip on the bottom and we didn't want to spend money on new ones (I'm really cheap if you can't tell).  So Ty bought a cement blade for his wood saw and it worked wonders.  Not the prettiest finish but they are on the bottom of the brick anyway.  


It's a pretty messy job.  We could have filled a 3 gallon bucket of sand and debris from sweeping our garage after this project.


So we first built the fire pit so that we could figure out where to dig down in our grass.


The hardest part was leveling out the ground.  Payton even got in on the action.


Next we put down some paver sand so that we could really level it out.  Probably not necessary but we also had a ton of this leftover from the fall so why not?


Then we laid our first layer of bricks.


Then the second...


And third...


After a few times of using it we decided we wanted to put down a layer of small rock inside the pit and in the outer ring inside the grass.  I don't have a picture of it with the rock but it looks a lot better.  It makes the grass flush with the rock instead of the inch and a half of an indent.


Here is what it looks like now but we intend to use those grey pavers for steps on our side yard, but decided they would work for temporary seats until we buy some new campfire seats.  I really want to buy some like this.  

We also intend to take out the grass later on down the road and cement some stones in this square area.  But for now we LOVE it!