The Radmalls

The Radmalls

Thursday, June 5, 2014

DIY Paver Patio

So we are so excited to FINALLY have our front patio done (well everything but the final landscaping touches).  Hopefully by the end of this month I will finally be able to put the before and after pictures of our finished front yard.

So after 2 weeks of internet searching and shopping around for the best prices we finally got started.  This project has been the longest and most difficult project yet.   

These are the things we needed for our project:


-15 bags of Paver Sand 
-Paver Set Polymeric Sand 
(this is the finishing touch that we actually haven't done yet...whoops)
-Wood framing
-Metal Stakes to hold the frame
-Pounder
-Pea gravel
-Landscape Fabric to keep the weeds out
-2 x 4 and 2 ten foot PVC pipes for leveling

So this is the area we started with


The first thing we had to do was dig down so that each of the three frames were level with the concrete.  We also had to measure out the frame EXACTLY to the pavers we had since they were going to be fitting hopefully snuggly inside the wood frame.  It took a lot of work and a lot of mess ups but this is what we ended up with:


The landscape fabric has been awesome.  We bought a huge 100 foot roll at a local nursery for $40 and have used it for everything.

Next step is to lay a 2" layer of pea gravel over the landscape fabric.


After leveling all the gravel out we placed our two PVC pipes towards the edge like this:


Then we started pouring the paver sand in excess in between the PVC pipes.  I just tried to level it the best I could just by looking at it before we really leveled it.


The leveling part was actually pretty easy.  You just need the small 2x4 and you run it on the top of the PVC pipes.


Then you take out the first PVC pipe and use a small shovel to add sand to the line that it left in the sand.  As you can see it isn't perfect but it worked.


Then you start laying your pavers in whatever pattern you want.


Then you move the PVC pipes and repeat the process until you have the whole thing filled in.  


The LAST paver...


It took us about 4 hours just to do the paver sand and laying the bricks.  Total time to do the digging, framing, and everything else was probably 10 hours.  We spread it out over about 2 weeks though so it wasn't too bad.

The one thing we still have to do is sweep the polymeric sand into the cracks and lightly mist it so that the pavers set and hold really nicely.  It was so late that we decided to wait on that.  Unfortunately it has been 2 weeks since we finished it and that step still isn't done.

Here is the finished product in the daylight...


Hopefully by the end of this month we will have all the landscaping done around the patio.  I'm crossing my fingers.

Saturday, May 3, 2014

DIY Firepit

Last fall Tyler's dad's landscaping company came up and turned our jungle of a front yard from this..


to this..


We have done a lot already this spring and right now we are working on a front patio to the right of our walkway.

My favorite part of what they did in our yard is this retaining wall.


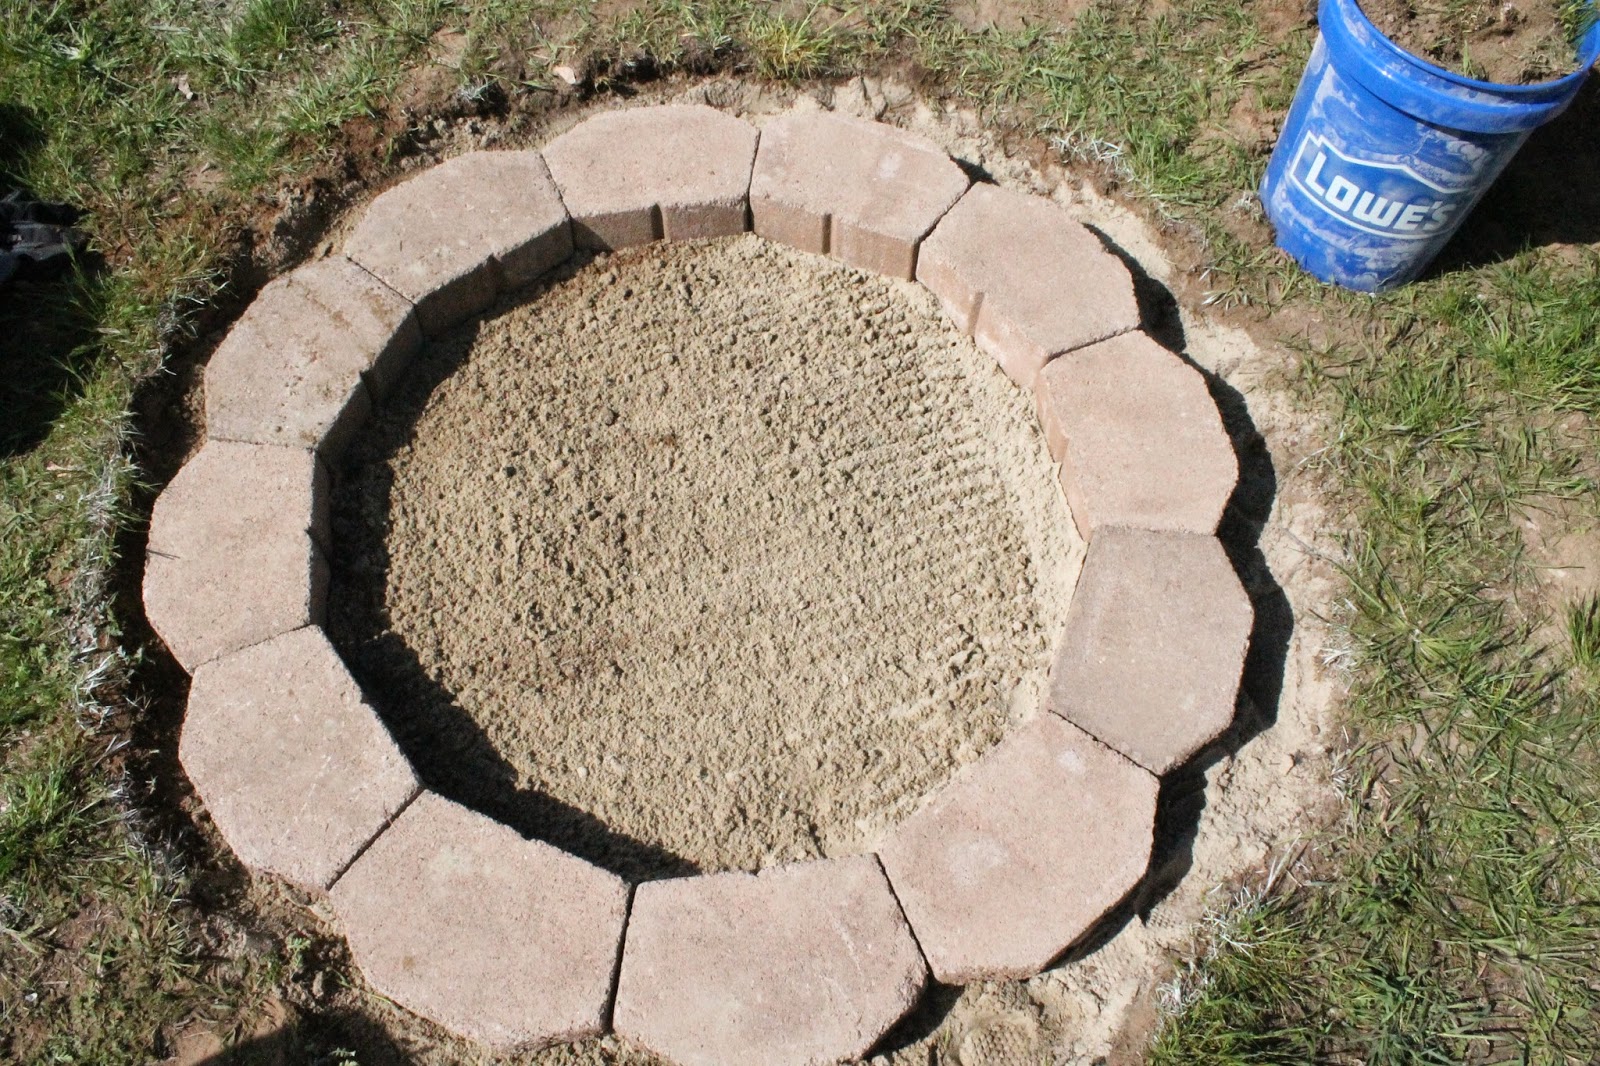
We had a ton of these bricks left over just sitting in our back yard.  So we decided to use them to make ourselves a little fire pit.  Ty and I always have our pantry stoked with smore's stuff because we make them on a regular basis using our gas stove.  So we knew we would get our use out of this fire pit.


So the hardest part was that bricks used for retaining walls generally have a lip on the bottom and we didn't want to spend money on new ones (I'm really cheap if you can't tell).  So Ty bought a cement blade for his wood saw and it worked wonders.  Not the prettiest finish but they are on the bottom of the brick anyway.  


It's a pretty messy job.  We could have filled a 3 gallon bucket of sand and debris from sweeping our garage after this project.


So we first built the fire pit so that we could figure out where to dig down in our grass.


The hardest part was leveling out the ground.  Payton even got in on the action.


Next we put down some paver sand so that we could really level it out.  Probably not necessary but we also had a ton of this leftover from the fall so why not?


Then we laid our first layer of bricks.


Then the second...


And third...


After a few times of using it we decided we wanted to put down a layer of small rock inside the pit and in the outer ring inside the grass.  I don't have a picture of it with the rock but it looks a lot better.  It makes the grass flush with the rock instead of the inch and a half of an indent.


Here is what it looks like now but we intend to use those grey pavers for steps on our side yard, but decided they would work for temporary seats until we buy some new campfire seats.  I really want to buy some like this.  

We also intend to take out the grass later on down the road and cement some stones in this square area.  But for now we LOVE it! 

Monday, April 21, 2014

Who Knew You Could Paint a Tub?

What girl doesn't LOVE taking baths?  Our bath has been an eye sore from day one


 and this is what I have set my heart on as a replacement.


But until we save up some money I wanted to do a cheap fix.  So I did some pinterest research (I don't know what I would do without pinterest) and found this product


It is an epoxy spray paint used to refinish tubs and tile.  Most everything you need comes in the kit except for eye googles and a mask to protect you from the fumes.  It is quite strong.  

So along with those materials I needed:


Tape and drape (I highly recommend this product for any painting project)
Painting tape 
Screw driver to remove tub hardware
Razor blade

Step 1: Remove hardware and use razor blade to scrape off grout around tub


Step 2: I didn't get a picture of this but the most tedious step is cleaning the tub.  The kit comes with the cleaner and materials but it takes FOREVER.  You have to go through the process 3 times and completely dry the tub every time.  It helps prepare the material on the tub for the paint to stick.

Step 3: Tape everything around the tub off.  There is a lot of overspray.


Step 4:  Apply coat one and let dry for 20-30 minutes.  You can see how uneven the coat is in this picture after just the first coat.


Coat Two


Coat Three


And after waiting about 5 days for the paint to cure we finally have a white tub.

BEFORE


AFTER


So the after still isn't even close to what I want but at least it is an improvement.  
Next on the list is to get rid of the old school speckled tile using the same type of product.

Thursday, April 3, 2014

Out With The Old...In With the New & Improved

So after using our bedspread for 6 months or so I HATED it.  

But I told myself I wouldn't buy a new one unless I could sell this.  So I finally sold it and our bed no longer looks like this.  


I have been dying to get a new headboard for so long and it is still on my wish list.  I also want to switch up the curtains that are behind our bed.  I like the solid blue curtains by the door but I want all three curtains behind the bed to be matching and more subtle.  

So after a lot of time spent looking up fabrics, headboards, nightstands, pillows etc. I finally found everything that I want.  


So in this list we already have the dresser from IKEA and the blue curtains for our french doors.  The dresser I actually have been eyeing for a while.  It is $229 at IKEA, but I actually found someone selling the exact one on ksl for $150.  Score.

Here is a list of where everything else is from and the prices:

                               Curtain Panels - IKEA $12.99 each
                      Headboard - Target $350
Euro Shams - fabric.com $17.98/yd +$12 for 1 pillow
Comforter - Overstock $72 + $18 for king pillows
Throw Pillows - Spoonflower - $17.50/yd + $16 for 2 pillows
Nightstands - IKEA $69 each
Lamps - Target $24.99 each
Gold Pouf - Target $49.99
Arm Chair - Target $279.99
Corral Polka Dot Pillow - Target $16.99
 
                                      Total - around $1250

After selling a few items like our old dresser, the old bedspread, an old camera and some other things I was able to have enough money to buy a few things on the list.

New white comforter - En Route to my house
White & Gold Curtain Panels
Fabric for pillows - My awesome sister in law agreed to make the covers for me
She has her own etsy shop and is amazingly talented.  Check it out.

So now I need to find a few more things in our house to sell in order to complete my dream bedroom.


Tuesday, April 1, 2014

Oh Florida!

We took a trip this winter to the amazing state of Florida.  My brother and sister-in-law live there so we decided to go make a trip out of it.  We went with all of Tyler's family and it was a blast.  

We decided to do the Disneyworld thing since Payton is still free (and she could still fly free).  I was so worried about Payton flying because we didn't buy a seat for her which meant she would have to sit on our lap for 4 and half hours straight.  If you know Payton you know that is pretty much impossible.  So I did my Pinterest research on how to fly with a toddler and got as prepared as I could be.  We bought her a cute little monkey backpack that she could use as a carry on and packed her a new coloring book, some of her favorite little toys, play dough, a puzzle and of course an iPad stocked full of fun apps and her favorite movie.  

I was actually surprised at how entertained she stayed.  I didn't have to pull out the iPad until about an hour and a half into the flight.  I was not expecting that.  The first half hour she spent looking out the window, playing with the food tray and reading those weird product magazines they have in the back seat pocket.  

She was a little sick during the flight which was actually good because she was very snuggly and didn't ask to get up at all. 


My favorite part of our whole time in Florida was when we went to Cocoa Beach.  My sister in law's uncle is part of a company that owns a house right on the bay.  They had a pool and kayaks that we could use on the water.  We were lucky enough to see dolphins right by us on the kayaks.  It was amazing.


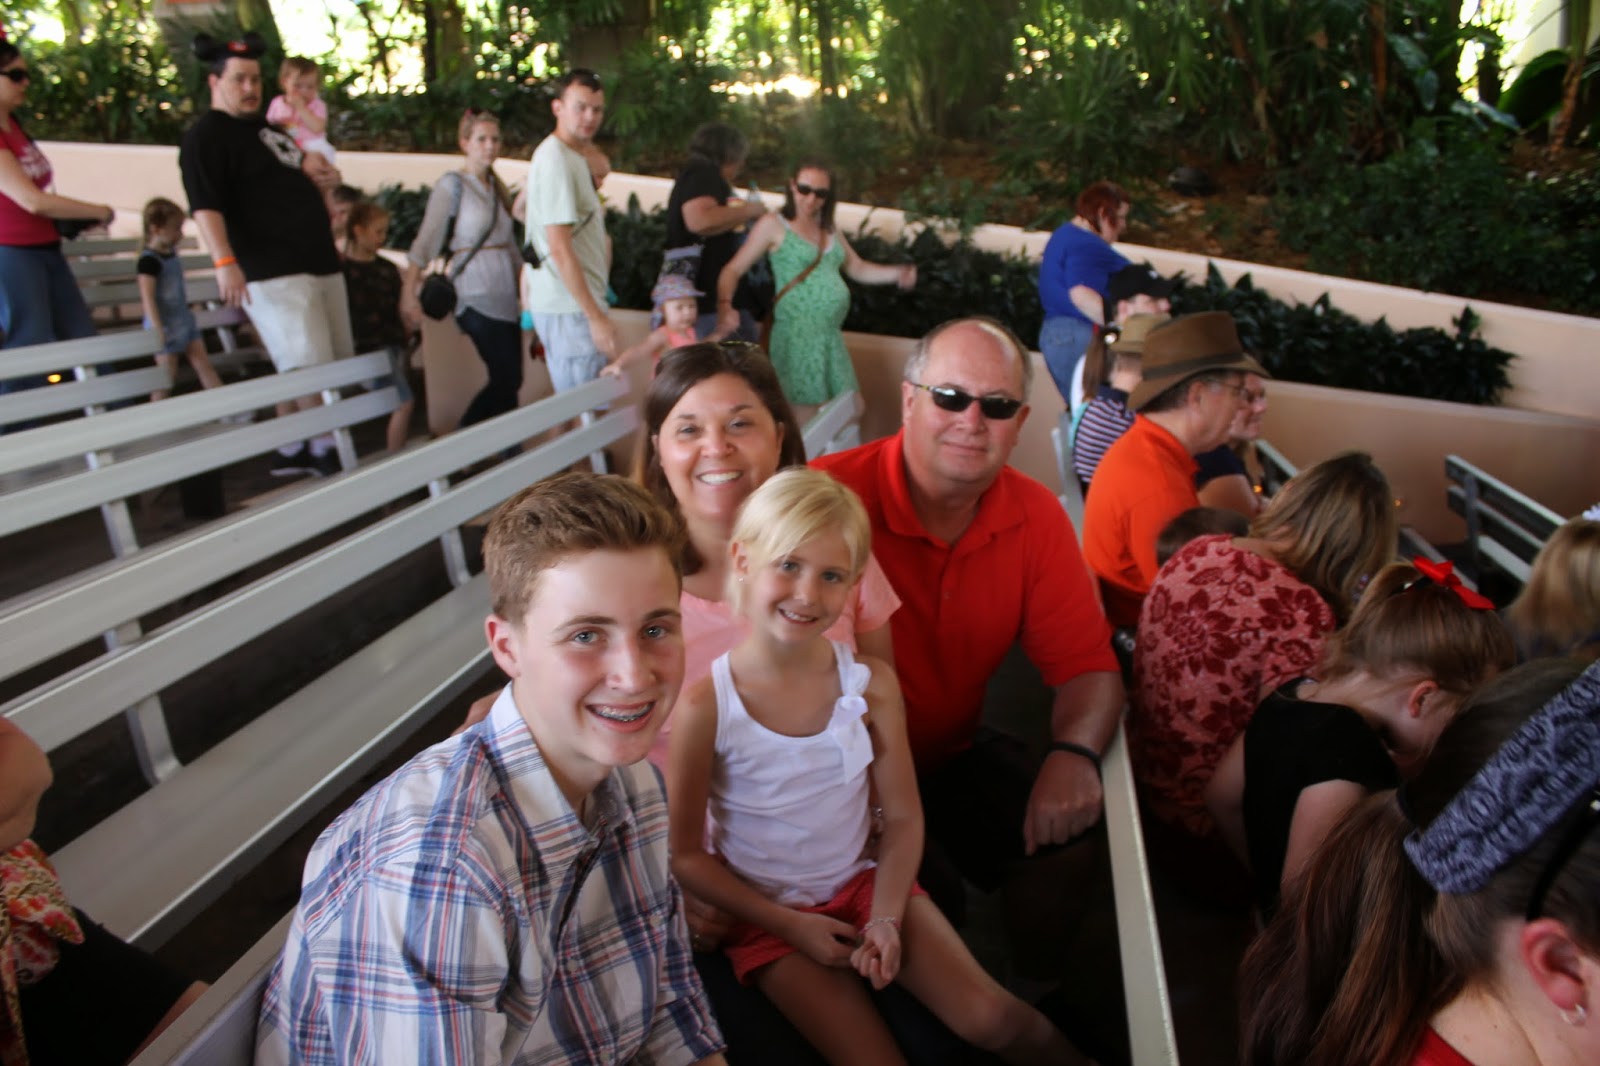
Payton LOVED Disneyworld.  Tyler and I are not big theme park people but it is such a different experience to see your daughter love it.  It was so much fun.


This was probably one of my favorite things to see at DisneyWorld.  They put on a huge car race/stunt show and showed us how they film car chase scenes in movies.  It was unreal.


She was a trooper.  The first day at the park we stayed all day.  She even stayed awake for the finale show.


Animal Kingdom was pretty cool.  Payton loved the safari seeing all the animals.


The last day we did Magic Kingdom.  Payton's favorite thing over all 3 days was the Carousel.  She cried hysterically when we took her off.


The best part was being able to spend time with family.


Eli and Payton had so much fun together.


Such a fun trip.